
Currently Empty: $0.00
Tutorial: How to Make Your Own Lotion Bars
Hello beautiful people! I’m so excited to share a little DIY love with you today. Ever wondered how to whip up your own lotion bars—those cute, solid goodies that keep your skin soft without the mess? I’ve got a recipe that’s 100% customizable, perfect for your self-care stash or even to gift to someone special (like my repeat customers who adore my handmade touch!). Let’s dive into making 6 lotion bars together—grab your ingredients, and let’s get started!
What You’ll Need
This recipe is super flexible, so feel free to swap things in and out to suit your style. Here’s the base for six 1.5 oz units (about 40-41g each, depending on molds-I used the pink mold pictured which I ordered from Amazon), with scents inspired by my own lineup:
| Ingredient | Grams (g) | Percentage (%) |
|---|---|---|
| Coconut Oil | 107.73 | 56.56 |
| Butter | 77.96 | 40.94 |
| Beeswax | 56.70 | 29.77 |
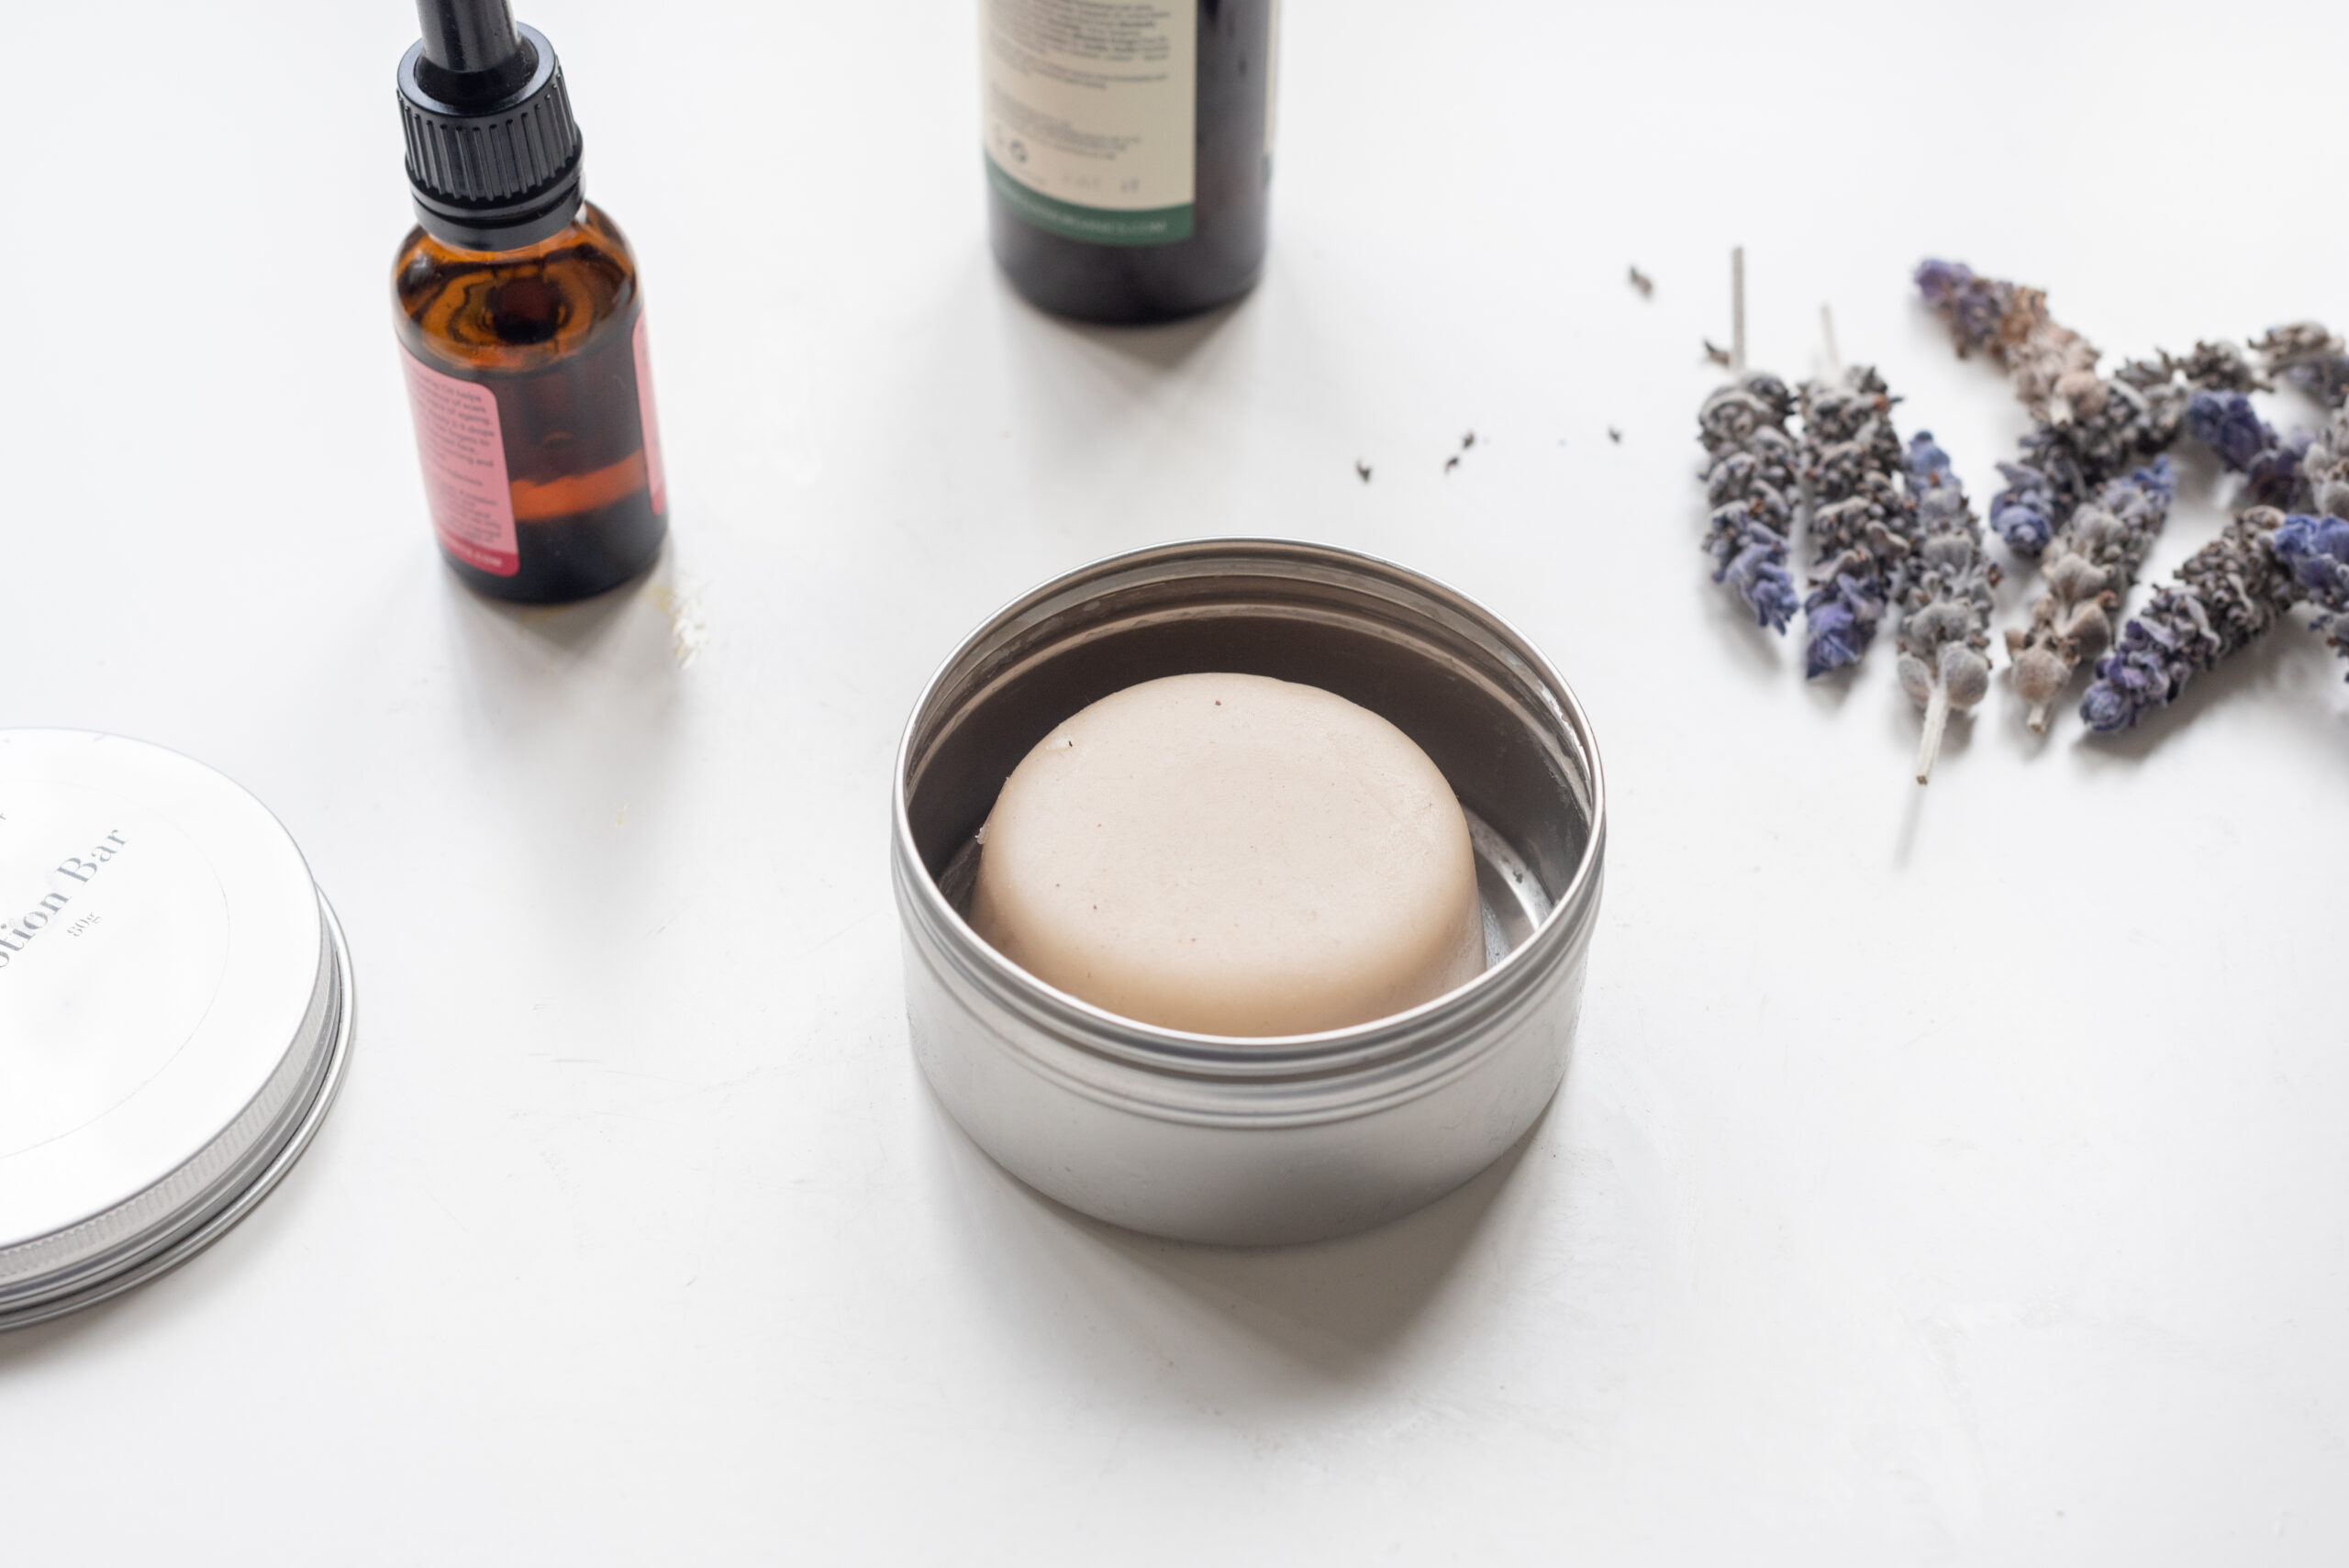
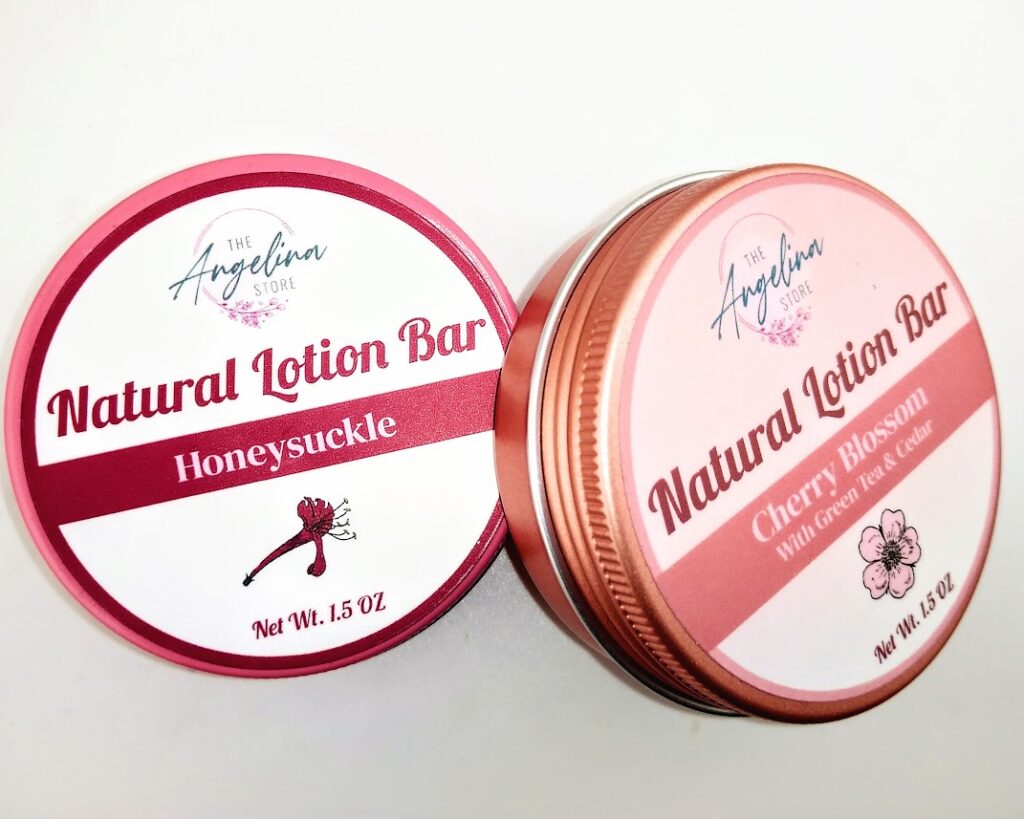
| Essential Oil (e.g., Jasmine, Mint, Lavender & Pine, Honeysuckle, Cherry Blossom, Green Tea & Cedar) | 0.08 | 0.04 |
| Vitamin E Oil | 0.05 | 0.03 |
| Total | 242.52 | 100.00 |
Notes on Ingredients: Play with the butter—try kokum, mango, murumuru, shea, or whatever feels right for your skin. The essential oil? Choose your favorite scent—we use Jasmine for a floral hug, Mint for a fresh kick, Lavender & Pine for a cozy forest vibe, Honeysuckle for sweetness and Cherry Blossom Green Tea & Cedar for an earthy twist. You can even use fragrance oils if that’s your thing! A tiny bit of Vitamin E oil boosts skin health and keeps it fresh.
How to Make Lotion Bars
Ready to create? This method is as easy as melting and mixing—here’s how I do it:
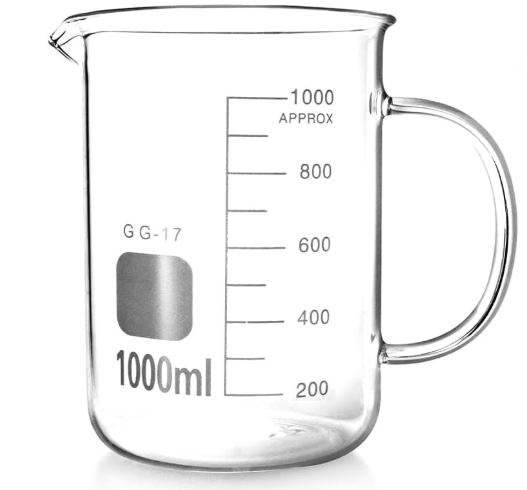
- Melt the Base: Grab a double boiler (or a heat-safe bowl over a pot of simmering water, I use a glass beaker like the one shown below) and toss in the coconut oil, butter, and beeswax. Let them melt together slowly over low heat, stirring now and then with a wooden spoon. Keep it gentle—high heat can change the goodness in those ingredients!
- Cool Slightly: Once everything’s a smooth liquid, take it off the heat and let it cool for a few minutes. You want it warm, not scorching, so it doesn’t zap the next step.
- Add the Extras: Stir in your essential oil (that 0.08g is about 2-3 drops—adjust to your scent preference) and a drop of Vitamin E oil. Give it a good mix to spread the oils evenly.
- Pour and Set: Quickly pour the mixture into molds—silicone ones work great for popping them out later. Let them sit at room temperature for a few hours, or pop them in the fridge for about an hour if you’re impatient like me!
- Enjoy: Once solid, pop your lotion bars out of the molds. Wrap them in pretty paper keep them in tins using a jumbo cupcake liner (shown below)—your choice! Use the lotion bars to glide over dry skin, and feel that handmade magic.
Tip: This recipe is your canvas—swap butters for different textures (shea for extra richness, mango for a lighter feel), and pick an essential oil that matches your mood.


Why I Love This
Lotion bars are my go-to because they’re mess-free, travel-friendly, and packed with natural goodness. At the Angelina Store, we weave our love into every creation, and this tutorial lets you do the same. Stay tuned for more tutorials and product updates—I’m planning some exciting launches for May and June!
Not Feeling the DIY? If making your own feels like too much fun to tackle right now, try one of ours! Check out our natural lotion bars—handcrafted with care and ready to pamper your skin!
A Little Care Note
These ingredients are gentle, but let’s be kind to our skin:
- Test a small amount on your wrist first—everyone’s skin is a little different.
- Keep the essential oil light to avoid potential irritation.
Let’s Connect!
Have you tried making lotion bars before? What butter or oil do you prefer? Drop your thoughts below! For now, head to theangelinastore.com to see our handmade goodies.
With love, Angelina!
